
TROUBLESHOOTING · PLASTIC BONDING
PP/PE Tape Edge Lift: Separate Surface Failure From Peel Stress
Distinguish low-energy interface failure from edge peel stress before changing tape.
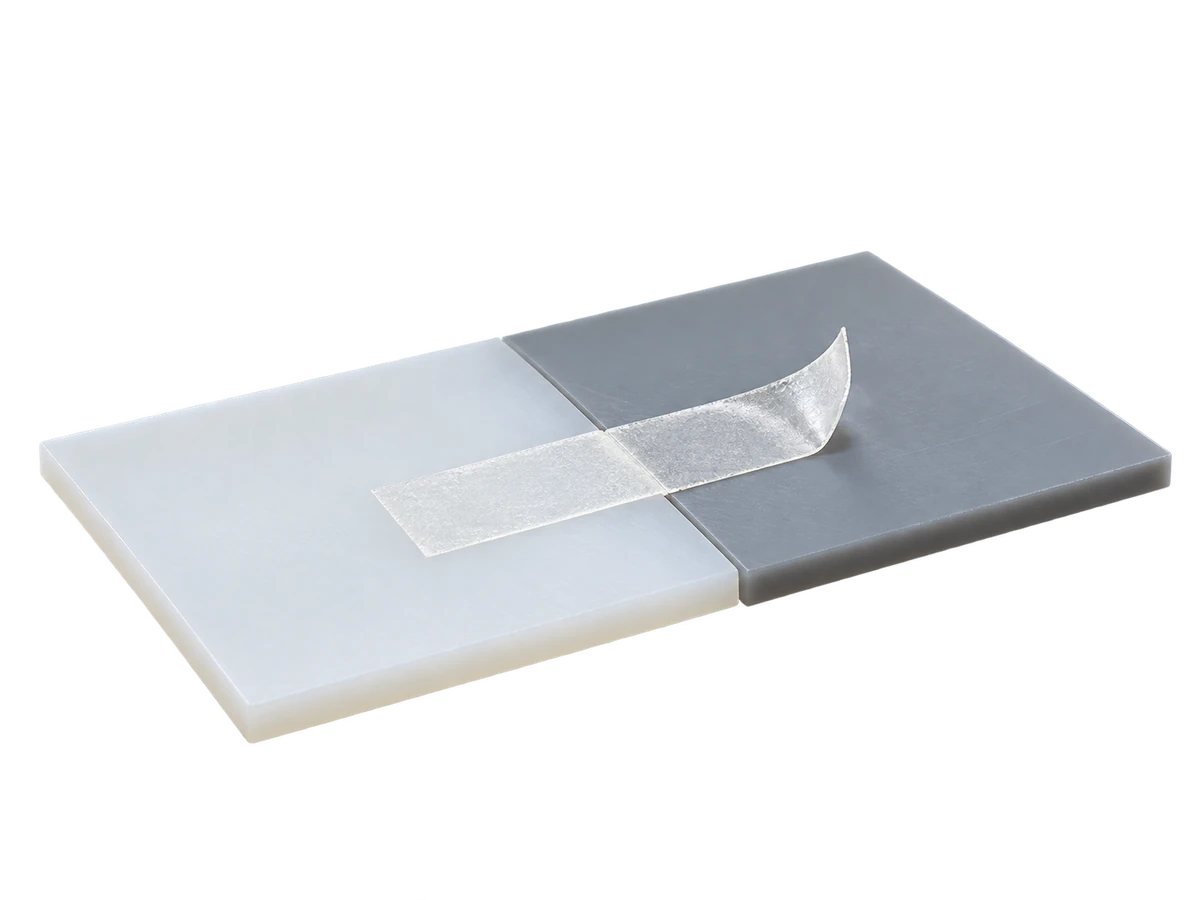
Inspect both separated surfaces and the initiation edge, then compare controlled changes to surface preparation and load path on production parts. PP/PE are difficult low-energy substrates, but concentrated peel at an edge can also lift an otherwise suitable bond; assuming one cause from the plastic name alone is unsafe.
Read the failure surfaces first
Mark the first lifted edge, photograph both sides, and note whether adhesive stayed with the plastic, stayed with the opposite part, split internally or pulled coating from a surface. This does not itself prove a root cause, but it prevents an immediate switch to a stronger-looking tape that might leave the real defect untouched. 3M’s surface-energy guide identifies PP and PE as low-energy materials; that property is a risk factor, not a diagnosis of every failed joint.
Clean release at that interface after a controlled application, especially across repeat samples, supports investigating LSE-suited adhesive or surface treatment; do not infer the precise mechanism without the actual failure surface.
Compare production parts from the same resin grade with one controlled change to cleaning or treatment. Record molding aids and time since molding. If a different adhesive is tested, hold geometry, application pressure and conditioning constant. A broad peel number on steel does not establish the result on a textured PP molding.
Check whether the edge is doing the damage
If lift repeatedly starts at a corner or free edge under a peeling load, modify overlap, edge support or load path in a controlled trial; peel concentrates stress over a small portion of the bond.
Inspect whether the part springs away from the bond line, whether a narrow corner takes the initial load, and whether the adhesive sees a shear or peel path in service. 3M’s industrial processing guide explains why peeling acts on only a small bond area at the leading edge. A larger contact band or supported edge may outperform a chemistry change, but only a controlled joint trial can establish that for this assembly.
Keep the troubleshooting decision separate from initial selection
If the team has no failed part yet and is choosing PET tape for PP or PE, use the PET tape qualification on PP/PE. Here, preserve the observed failure and change one variable per iteration. Stop the trial when an interface is clearly identified and a reproducible corrective action meets the real service test; do not label the entire PP/PE family “unbondable.”
Use a controlled branch to separate interface and geometry
Do not change tape, cleaning and overlap in one experiment. Preserve failed parts, mark the first lift location and photograph both separated surfaces. Record whether adhesive remains on PP/PE, remains on the other surface, splits cohesively or pulls off a coating. This is an observation, not a root-cause verdict; residue can be affected by treatment, formulation and load.
Compare two branches on production parts from the same resin/paint lot:
| Trial | Hold constant | Change one variable | What changes the diagnosis |
|---|---|---|---|
| Interface check | Geometry, tape area, pressure, dwell, conditioning | Cleaning or approved surface treatment | Repeatable improvement points toward process/surface preparation; no improvement leaves chemistry, resin additives or surface state open |
| Geometry check | Substrate pair, tape, preparation, pressure and dwell | Edge support, overlap or load direction | Delayed/absent edge initiation points toward peel concentration; unchanged interface release keeps surface compatibility in scope |
Use enough repeat parts to see whether the result reproduces; one specimen is not conclusive. Keep the tape model fixed while investigating the interface. If adhesive must change, run that as a separate comparison with geometry fixed. This makes the next action interpretable and prevents a stronger tape from masking a poor land or unstable process.
Know when to change the interface candidate
PP and PE are low-surface-energy materials in 3M’s surface-energy guide, so a clean-looking surface does not guarantee that a general adhesive will wet it. If repeat failures show clean release at that interface after controlled application, verify resin grade, additives, treatment and time since molding; then prioritize an adhesive documented for that surface. Do not infer performance from steel peel data or a different PP grade.
If one preparation step repeatedly improves the result, standardize it and challenge it across operators and lots before changing adhesive. If preparation changes do not affect the result but the same free edge lifts under service load, examine unsupported area, spring-back, peel direction and edge support before moving to higher tack. If both branches matter, qualify the combined process and design rather than claiming one root cause.
Close the diagnosis with a reproducible correction
The diagnosis is complete only when the correction repeats on representative parts and meets the specified service test. Record the observed mode, one-variable trial, result, conditions and remaining risks. If no failure has occurred yet and the team is qualifying PET tape for PP/PE, use the separate pre-use qualification guide; this page addresses observed edge lift.
Next step
Send photos of both failure surfaces, substrate grade, part geometry and process conditions so the first diagnostic trial addresses the observed failure mode.
Discuss this application
Share the substrate, joint or drawing, service conditions and the decision you need to make.